Tuesday, March 31, 2015

iMovie won't import MOV footage from Nikon D3300/D3200/D3100

Summary: Here you will find the fluid workflow for editing Nikon D3300/D3200/D3100 1080p MOV files in iMovie without any problems.


The Nikon D3300, D3200, D3100 are excellent DSLR cameras in the market. All of them are wonderful to be taken to take photos and record Full HD 1920 x 1080p movies when you travel or commute. When it comes to video recording, all of the three Nikon DSLR record in MPEG-4 and outputs its files as .MOV files (the container). Files are compressed using the h.264 codec. So the files you're getting out Nikon D3300/D3200/D3100 are suited to be delivered as is, which is not ideal for editing. That's why you will encounter problems like import it slowly, and couldn't edit videos smoothly when you use the Nikon H.264 MOV files in iMovie(iMovie'11 included).

Since the MOV codec is a final delivery codec it is not one you want to use for editing. Therefore you first need to convert the H.264 MOV to a more editing-friendly format, such an iMovie's Apple InterMediate Codec(AIC). The article would show you how to change Nikon D3300/D3200/D3100MOV to iMovie comaptible format step-by-step with a professional yet easy-to-use Video Converter for Mac from EaseFab. By running it, there is no need to set the codec yourself: the program has optimzied presets for iMovie(iMovie'11 included).

This program features high efficiency and seamless conversion. With it, you can do batch conversion from AVCHD, MTS, AVI, VOB, MP4, MOV, and more to iMovie format in simple clicks of mouse. Here's how to do it.

Step-by-step tutorial to edit your Nikon H.264 MOV files in iMovie

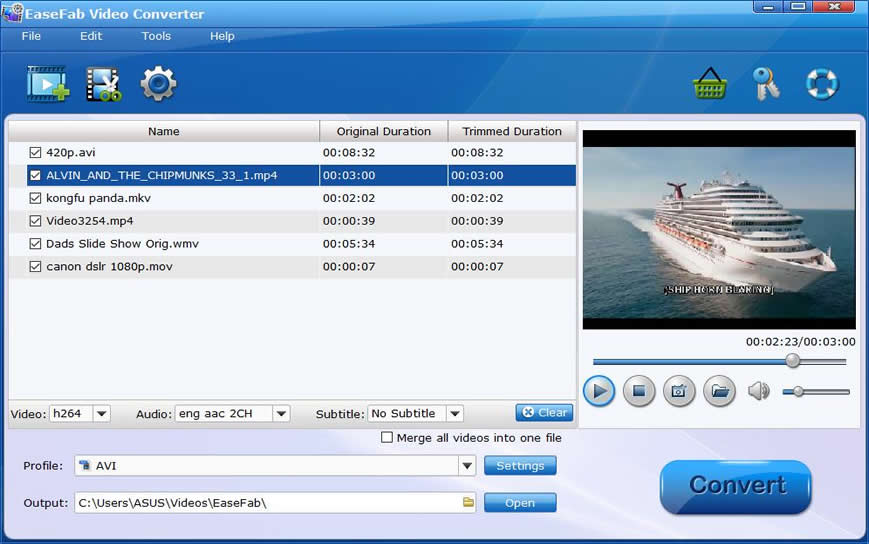
Step 1: Download, install and run the Nikon MOV to iMovie converter for Mac, and then go to the folder where you have saved the MOV videos, and then directly drag and drop the video files to the program dock. The files will be imported to the application automatically.


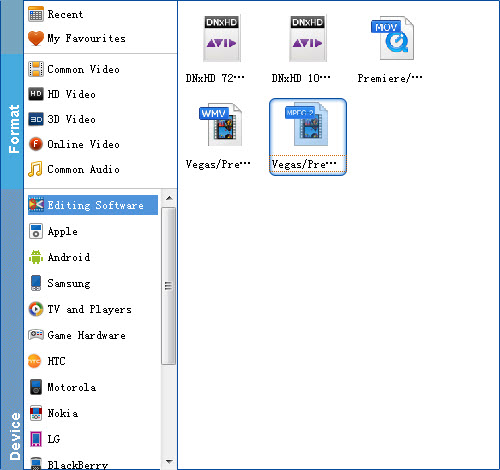
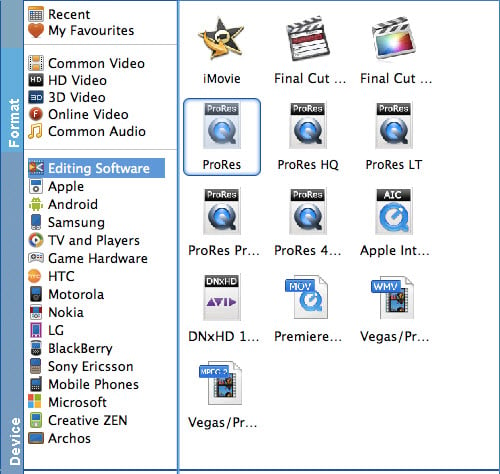
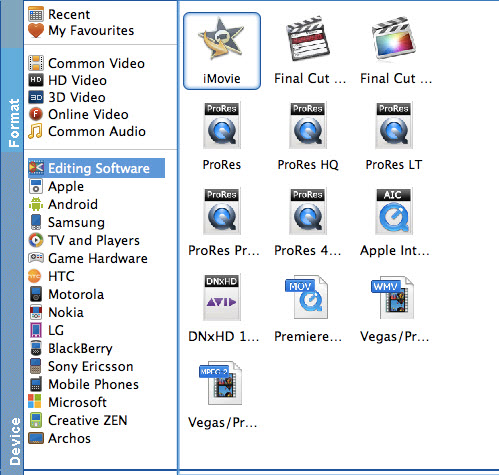
Step 2: Go to Editing Software category and choose iMovie in the format list. The program has already optimized the video settings for iMovie. The output videos will keep the original quality of MOV video and seamlessly fit iMovie'11, iMovie 09 and iMovie 08.


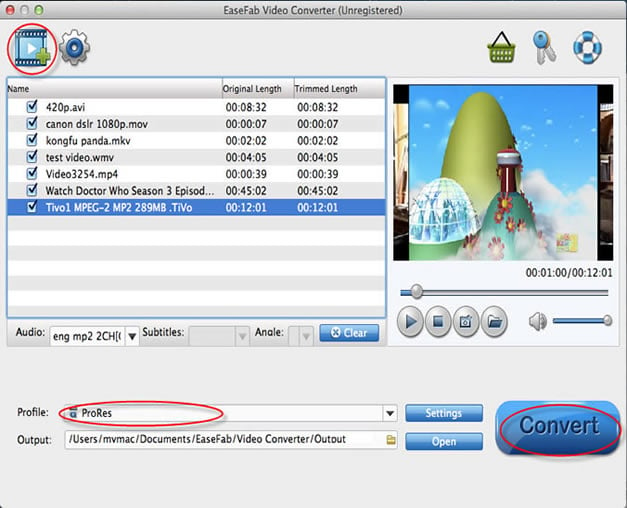
Step 3: Click the big "Convert" and your files will be converted into AIC encoded MOV files ready to be imported into iMovie for editing.

When the convrsion completes, launch iMovie, from the File menu, choose Import > Movies, navigate to the folder that output MOV videos are saved. Select the files and click "Import".

Now, start to create your masterpiece in iMovie with D3300/D3200/D3100 MOV movie files!

Editor's Note" Besides iMovie, the Nikon Video Converter for Mac also comes with other advanced encoders like Apple ProRes, DNxHD, etc. allowing you to convert video to seamlessly fit Final Cut Pro, Avid, iDVD, Adobe Premiere and more. Moreover, the Video Converter for Mac also enables you to convert video to fit your portable media players with the best video settings. Overall, the program is a great application to help you play, edit and watch videos anywhere.

Sunday, March 29, 2015

How to Upload Canon 5D Mark III/II videos to Sony Vegas Pro

Summary: This article will offer you the best solution to import and edit Canon 5D Mark III/II H.264 MOV footage in Sony Vegas Pro 13/12/11/10/9 smoothly.


On the 25th anniversary of its EOS system, Canon finally announced the long-awaited update to its full-frame 5D Mark II dSLR. The 5D Mark III is packed with capabilities for both still and video shooters, but at a much steeper price. It is also capable of recording full HD video with manual exposure control and in multiple frame rates, including 1080/30p and 720/60p. Both record in MPEG-4 and outputs its files as .MOV files (the container). Files are compressed using the h.264 codec. The h.264 files are suited to be delivered as is, which is not an ideal one for editing. That's why you will encounter problems when using Canon 5D Mark III/II H.264 MOV footage in Sony Vegas Pro.

Since the H.264 codec is a final delivery codec it is not one you want to use for editing. Therefore, in order to smoothly edit Canon 5D Mark III/II footage in Sony Vegas Pro, you'd better transcode the H.264 files to a more editing-friendly format, such as MPEG-2 for Sony Vegas Pro. Along with some help from third-party software, it can be done effortlessly. Here I share a simple guide on how to convert Canon 5D Mark III/II H.264 MOV files for Sony Vegas Pro editing smoothly. If you’re facing the issues, read on to find the answer.

First of all, download the app - EaseFab Video Converter

Overall, the program is the best Video Converter for Canon MOV footage. With this Canon MOV converter, you can effortlessly transcode Canon 5D Mark III/II MOV files to MPEG-2 or WMV, which will create a Sony Vegas Pro friendly file format keeping the original quality. Besides Vegas, this software can also export DNxHD for Avid, MPEG-2 for Adobe Premiere Pro, Premiere Element, AVI for Pinnacle Studio, WMV to Windows Movie Maker and more NLE systems for native editing. Just download it and follow the tutorial below to get the work done.

How to convert Canon H.264 MOV to Sony Vegas Pro

Step 1. Click "Add Video" button on the main interface to load your MOV files once you set up the professional MOV Converter on your PC. (Drag&Drop function is another way to import the videos.)


Step 2. For the next step, you'll have to choose an output format for your Canon .mov video file. The program has three already optimized the video settings for Sony Vegas Pro. Here we recommend you choose MPEG-2 which can help you keep the original quality of MOV video and seamlessly fit Sony Vegas Pro 13/12/11/10/9.


Step 3. Finally, simply click the big Convert button to start converting your videos. The progress bar will show how much time is needed.

When the conversion task is finished, click "Open Folder" button to get the exported files and then import the converted Canon 5D Mark III/II MOV files into Vegas Pro to do further editing without any issue.

Tuesday, March 24, 2015

How to import videos from Nikon D7200 to Final Cut Pro X/7/6

Summary: Facing issues when importing Nikon D7200 H.264 MOV recordings in Final Cut Pro X or FCP 7? Here you will find the best solution to edit Nikon MOV files with FCP.

One of our favorite DSLRs in the past few years is the Nikon D7100, which was introduced way back in February 2013. The D7200 isn't a radical upgrade by any means, yet it still adds some important features, most notably a larger buffer, improved autofocus performance in low light, 60p video, Wi-Fi with NFC, and 15% better battery life. As one the hottest DSLRs in the market, the Nikon D7200 is great for us to take high quality images and record vivid full HD videos. However, when you attempt to import Nikon D7200 videos to Final Cut Pro X or FCP 7 for some editing, you may encountered many problems, like import it slowly, and couldn't edit videos smoothly.

The reason that you can't edit Nikon D7200 .mov files in FCP is simple: the Nikon DSLR uses the sophisticated H.264 compression method for recording video files to the camera's memory card. This is an ideal file type for video capture in an SLR camera, delivering relatively compact file sizes with image quality noticeably superior to alternate video compressions (such as Motion JPEG). However, the H.264 compression format requires that files be transcoded into a format better suited to editing, effects, and color grading; this would usually be Apple ProRes codec, which ensures maximum editing quality and efficiency when working with Final Cut Pro 7 or FCP X.

So, to solve these problems, what you need is a Mac Video Converter tool to convert the H.264 files to ProRes for FCP. There are many kinds of Mac video converter software on market. One highly recommended program is EaseFab Video Converter for Mac, a professional yet easy-to-use H.264 to ProRes converter for Mac. With it, you can effortlesly batch convert from all Nikon 1080p MOV files to Apple ProRes 422 so that you can easily import the Nikon H.264 recordings to Final Cut Pro X, FCP 6, FCP 7 for further editing on Mac OS X(Yosemite and Mavericks included). This This will help you import the file correctly and saving the rendering time.

If you're editing with Final Cut Pro, chances are you already installed this great utility. If not, download it from here.

This Mac Video Converter is fast and stable for converting Nikon D7200 H.264 MOV to ProRes on Mac, it only need several steps to finish the conversion. See below how to do it.

Guide: How to convert Nikon D7200 footage for editing FCP

Step 1: Load D810 footage to the software

Install and launch Nikon Video Converter for Mac, and then click "Add Video" button to browse to MOV files to the program. You can also directly drag the AVI videos to the program. Batch conversion is supported so that you can add multiple files to convert at a time.


Step 2: Choose ProRes as output format

Click on the "Editing Software" and you will see options to convert your mov video for certain video editing software. Since you will be importing the video to Final Cut Pro after the conversion, have "ProRes" be your selected output format.


Tip: If you are a FCP 6 or former version user, you only can choose ProRes 422 HQ as the output format.

Step 3: Start converting Nikon MOV to ProRes codec

Click "Convert" to start encoding Nikon D810 MOV to Apple ProRes 422 codec for Final Cut Pro X or FCP 7. The conversion process may take long time but it will not bother to render in FCP. After conversion just click the "Open Folder to locate converted D7200 footage for FCP post-production.

Additional Tips:

1. If you are also a FCP X user, before you try to do the conversion, don't forget to make sure that you have installed the Apple ProRes Codec manually since the FCP X asks users to install it by themselves.

2. If you want to edit Nikon D7200 mov in iMovie or Final Cut Express, you just need to choose the "iMovie" in the second step.